Automate your video workflows with the Webgate.io API

The Webgate.io API allows you to seamlessly integrate powerful media management and automation into your existing workflows. Whether you need to upload, process and distribute large volumes of media files or manage complex post-production tasks, our API has you covered.

API features in a nutshell

  • Manage files and folders
  • Upload files and video material
  • Download files and video material
  • Read and write comments
  • Read and write metadata
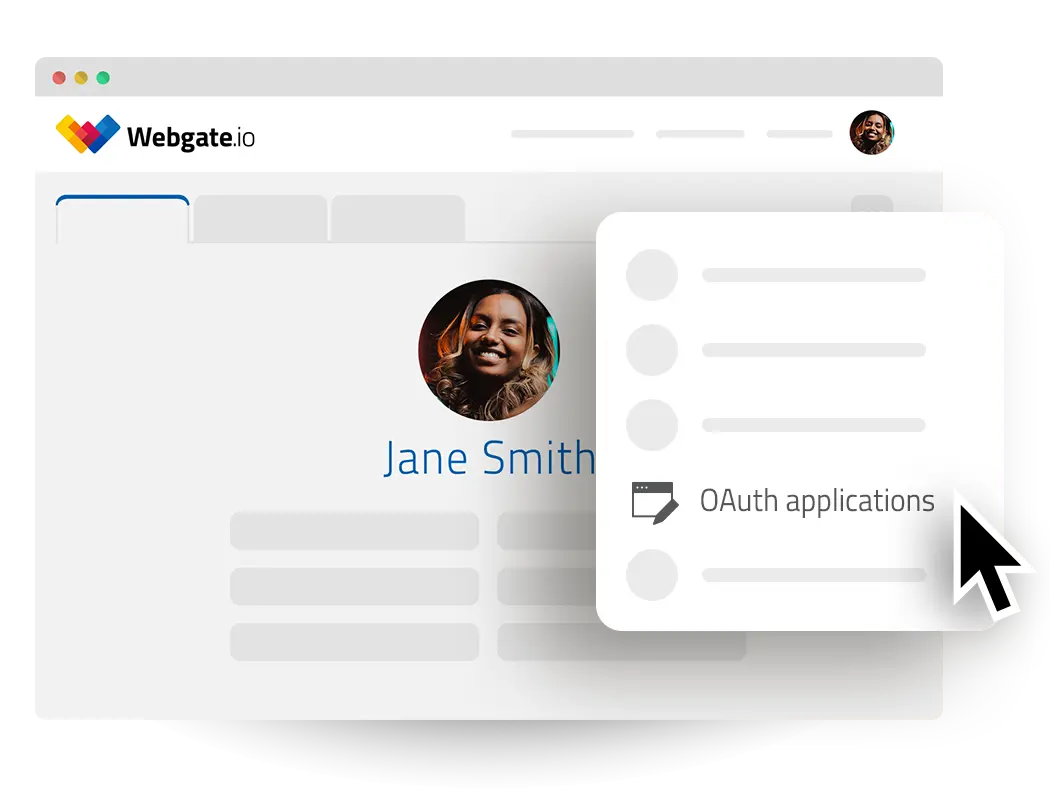
  • Manage users and their permissions
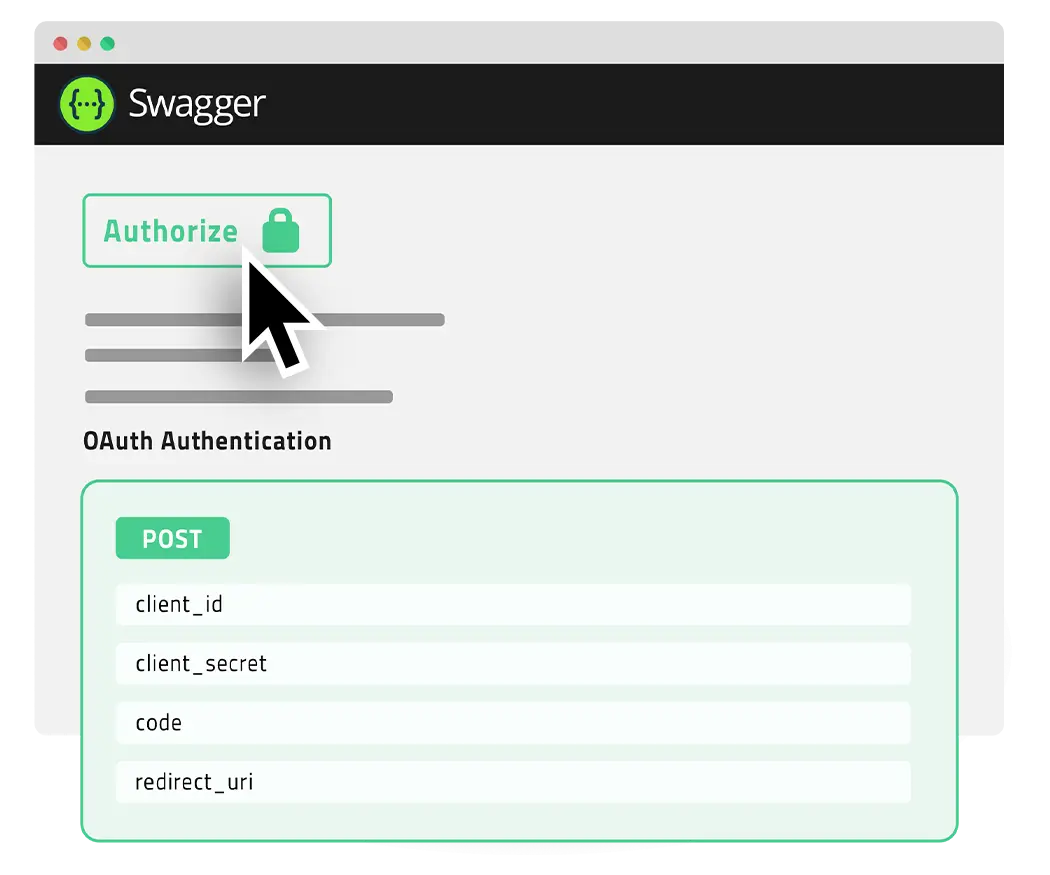
  • Easy Swagger documentation
Webgate.io API Documentation

Getting started with the Webgate.io API

To ensure secure access to Webgate.io, your application must authenticate using OAuth (Open Authorization). OAuth is an industry-standard protocol that allows applications to interact with a service on behalf of a user without sharing their credentials. By issuing tokens, OAuth enables secure, scoped access to protected resources, ensuring that only authorized applications can perform certain actions. This process protects user data while granting the application the permissions it needs to operate within specified boundaries.

Profile page

Create an OAuth App

To use OAuth, an OAuth application needs to be created on the Webgate.io side first. This can only be done by the Webgate.io support.
In order to request the creation, start by navigating to your profile: click the user icon in the top-right corner and select your name. On your profile page, you'll find a context menu that provides options for managing your OAuth applications. Here you can send a message to the Webgate.io support to request an OAuth application.
You have to provide the following data:

Name
The Name of your Application. It is supposed to be easily recognized by your users who are going to authorize your app.
Owner
Email address of the owner of the application.
This can be a different account than the one asking for the application.
The OAuth application and it's data will be shown in that account only.
Redirect URIs

In order to get an oauth grant token, your web application needs to call the token endpoint in the Webgate.io application, that redirects back to your application after the user authorized the application. For security reasons, the redirect to your application needs to be configured on the Webgate.io side. There can be one or multiple redirect URIs, the redirect URI to be used for a specific authorization call is provided as a redirect_url parameter.
When you plan to use the API outside of a web application (e.g. a script), you can leave this empty.

OAuth Application Data

Once you have created an OAuth App, Webgate.io provides you with the following data for your OAuth application:

Client Id
The Client Id is a unique identifier for an OAuth application that allows it to be recognized by the authorization server.
Client Secret
The Client Secret is a confidential key used by an OAuth application to authenticate itself with the authorization server, ensuring secure communication.
Authorization URLs
Each Redirect URI has a uniq Authorization URL which points to an endpoint where users are redirected to grant access to an application. These URLs handle user authentication and authorization, allowing the app to receive an authorization code.

To have your web application authorized to access Webgate.io by the user, link to the authorization URL. When the user follows this link, she/he has to authorize your application to access Webgate.io. Then she/he is redirected back to your application using the redirect url. This redirect passes an access grant to your application.

This access grant is short lived and has to be exchanged with a access token using the token endpoint, which you can use to make authorized API requests.

You include the access token in the headers (usually as a Bearer token) of subsequent API calls to access protected resources on behalf of the user.

The access token still has a limited lifetime. For long-term access a refresh token needs to be obtained (through the token endpoint as well), which can be used to request a new access token, when the current access token expires.

Profile page

Shortcut for usage in Development, API Docs and Scripts

While OAuth provides a defined way how to integrate web applications, it can be cumbersome to follow the full process when you just want to try out some API calls, use the interactive documentation or use the API from a script.
Therefore Webgate.io offers to generate an access grant and access and refresh tokens using the generate button below the authorization URLs.
The access token can be used as the authorisation bearer in the swagger doc or test requests.
The refresh token is suitable to used in scripts. Before making other api calls, the refresh token needs to be used to create an access token using the /oauth/token endpoint. Besides the grant type of "refresh_token" and the refresh token the client id and client secret must be provided.
Keep in mind that the refresh token and client secret must be kept secret to avoid unauthorized access.

swagger api documentation

Make requests directly in the API Documentation

Webgate.io uses Swagger to provide a comprehensive interface for interacting with its API. Through the Swagger documentation, you can not only view all available API endpoints, but also execute requests directly from the interface. This makes it easy to test and explore the API's functionality.

To get started, you first need to obtain an access token using OAuth authentication. Once you have the token, you can use it to authenticate all subsequent API requests by including it in the Authorization header. This streamlines the process of interacting securely with the Webgate.io API.

Webgate.io API Documentation